Here at Vital Signs USA, we pride ourselves in our professional signage. Chicago sign installation is where we thrive and have built our reputation.
In an effort to help understand our process better, we’ve written this easy step-by-step wall mounting guide from our YouTube video of us doing an installation at Elmhurst College. You can see just what you’re in for on the special day when we put up that shiny, new sign of yours!
This specific sign install used silver acrylic dimensional lettering with brushed aluminum and looked awesome after it was done.
We prepare the area
When we arrive, we’ll typically find a safe spot that’s free of traffic and set out our equipment including the new sign materials. We’ll get the area tidy and take our measurements for mounting the sign using a laser level. This includes finding the center the of the wall and establishing the height for the placement.
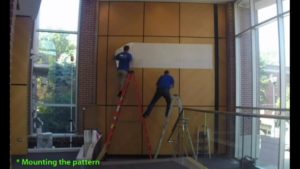
Then, mount the paper pattern
We tape up a piece of paper that has the sign’s mounting point pattern already perforated into it. We pre-drill the holes to save time as well to ensure that everything is placed exactly where it’s supposed to be.

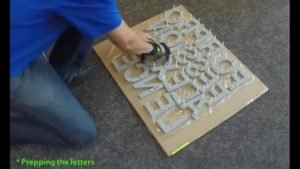
After, prepare and mount the letters
Once the drilling is finished, we remove the paper and prepare the pre-drilled letters by screwing the studs into them. We then mount those letters to the wall and secure them in with a bit of adhesive. This makes sure that they look great year round and for many more to come.

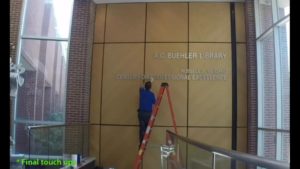
And put on the final touches
The letters get wiped down and cleaned up. We make sure everything is in the spot it’s supposed to be and that it looks perfect for the client. When that’s done, we clean up around the sign and make it spotless in all its new sign glory!

This how we get a professional quality Chicago sign installation done. If you need a new sign for your company and want the the process to be streamlined, call or email Vital Signs USA. We want to be your first choice for your Chicago sign installation project!

